

5 Insider Secrets To Look Amazing In Photos!

5 Insider Secrets To Look Amazing In Photos!
You might be overwhelmed or too nervous to realize it right now, but being professionally photographed is an exciting experience. You might even think I’m crazy for saying that. Truth be told, most people hate having their picture taken. But that’s only because they don’t know what to do when they are in front of the camera.
How should you stand?
What should you do with your hands?
Should your chin be up or down?
I don’t want you to worry about any of this. “Posing” in photos is much easier than you might imagine. In this guide, I’m going to give you 5 easy posing tips that will ensure YOU look amazing in your photos! I’m also going to give you a bonus tip that will blow your mind and make you look like a celebrity in every photo you take!
Tip #1: Ignore Your Photographer
Ok, so you can’t completely ignore your photographer. Unless you’re a professional model, constantly interacting with the camera, you will tend to look stiff and unnatural. When I say “ignore” your photographer, I want you to relax and be in the moment! Have fun with your photographer. Laugh, get in on the fun and be lost in the moment. Your photographer is there to help guide you, so do your best to let all your stresses fade away.

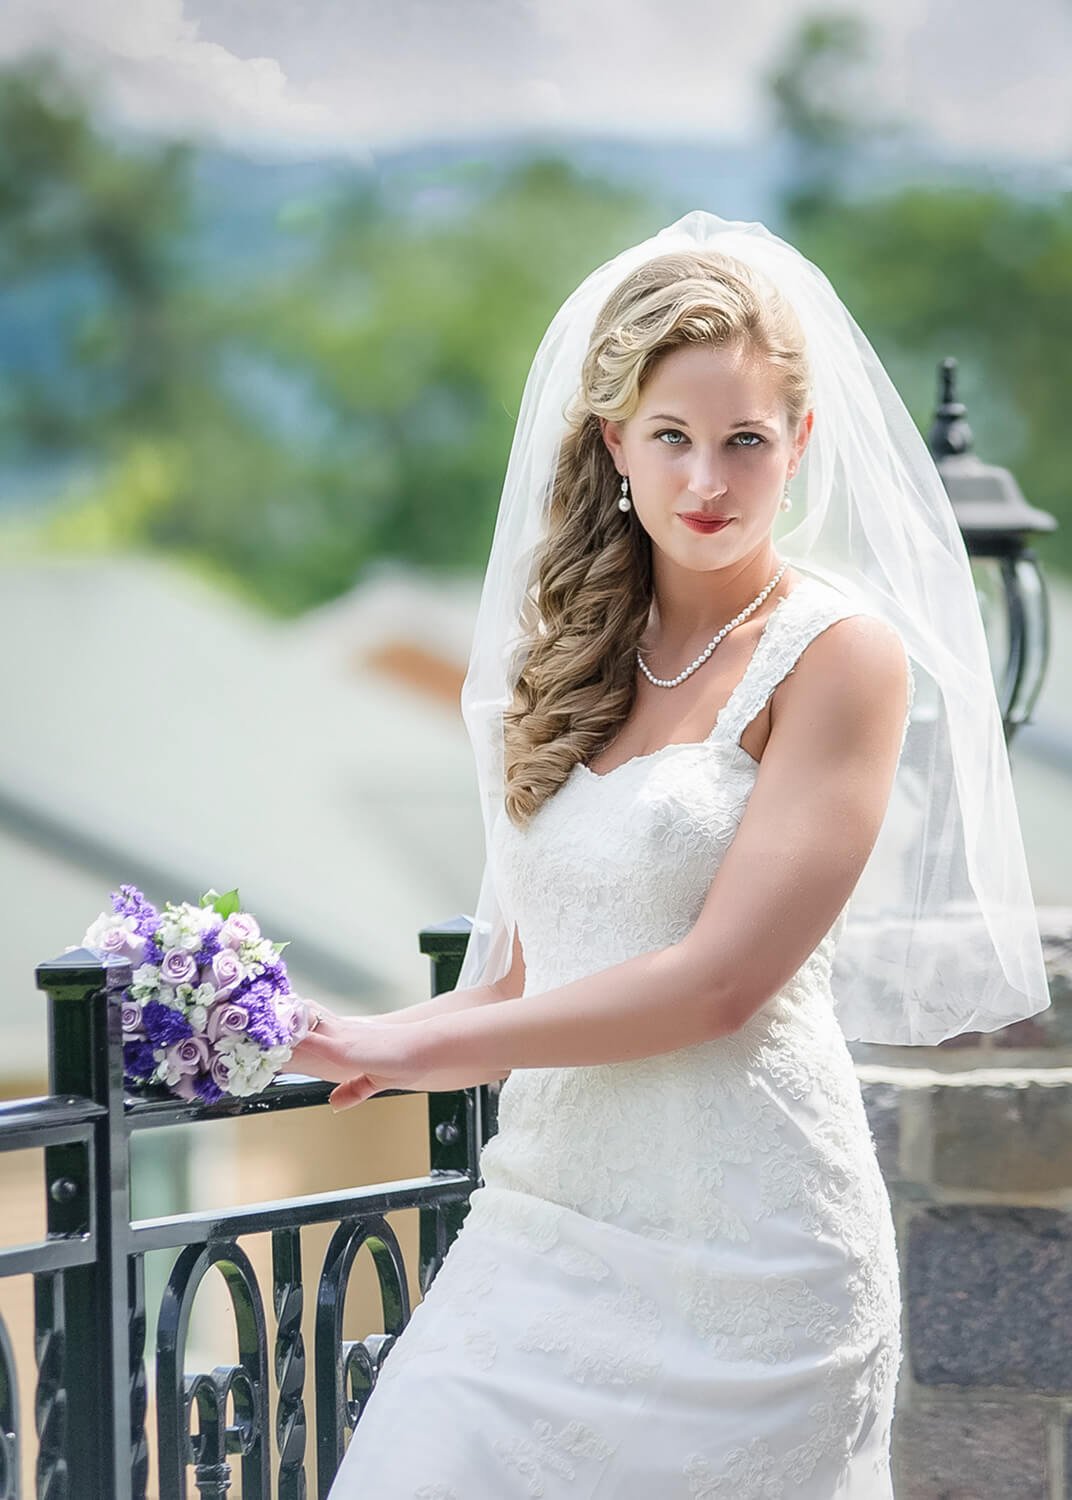


Tip #2: Strut Your Stuff
We all want to highlight our best features and look amazing in photos. The best way to do this is to bring any part of your body you love closer to the camera.
Love your eyes? Push your head slightly towards the camera and slightly tilt your chin down. This will cause your eyes to open more and place a stronger emphasis on them.
Love your hair? Make sure it’s blown-out or nicely styled, and keep it more in front of your shoulders than behind.
Love your shoulders? Don’t be afraid to throw a little sass at the camera and do some cute over-the-shoulder poses!
Want to show off your waistline? Make sure your hands aren’t flat by your sides. Bring your arms and elbows ever so slightly away from your waistline so the camera can clearly see your curves.
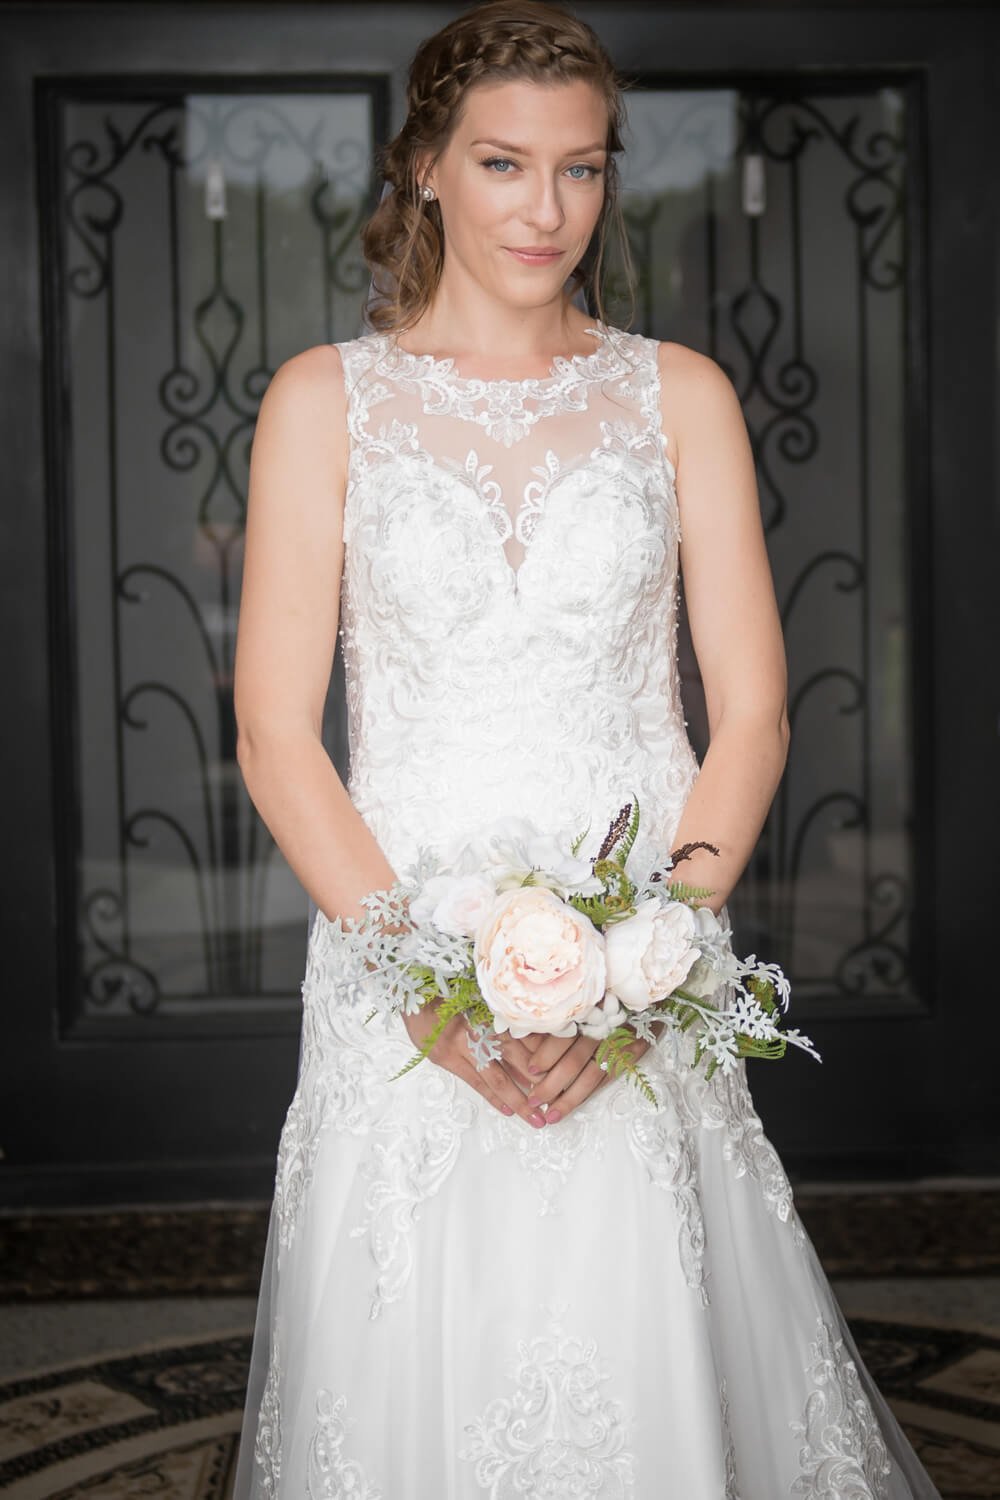
Tip #3: Be Your Own Photoshop
Want slimmer arms? Be sure to have a slight bend in your elbows and slightly push your elbows behind you, rather than to the side.
Not a fan of your hips? Stand slightly sideways instead of face-on to the camera, and put the majority of your weight on your back foot. This will naturally create a soft and beautiful bend in your front leg. Not only will this make your hips appear smaller, but you will love the shape it gives your entire body.


Tip #4: Chin OUT, Not Up Or Down
When people are uncomfortable in front of the camera, it’s common to raise their chins up. Generally, they do this to avoid showing any extra neck skin. This often looks very awkward in photos and everyone can see up your nostrils.
In some cases, it’s okay to have your chin slightly down (bring attention to the eyes), but this can cause that dreaded “double chin” we all hate!! If your neck area is a source of stress, remember to push your chin slightly towards the camera. It will likely feel a little weird to you, but it will look great in photos!
PRO TIP: Have your partner or a friend take some photos of you using a cell phone and practice this technique. Once you get used to the feeling, you will quickly see the benefits of the chin going out, not up or down.
Tip #5: Do You Even Like Me?
When you hire a photographer, it’s critical you love their personality and your personalities compliment one another. This is how trusting relationships are born. Having a great rapport with your photographer will be worth its weight in gold, and it will ensure the most beautiful photographs possible.
When choosing your photographer, ask them what steps you can take to look amazing in your photos. If they don’t have an answer or their answer seems lame, keep searching until you hear tips like the ones shared in this guide! Until then, go practice these tips and get ready to rock your next photo session!
pRO BONUS TIP - LEARN THE SQUINCH!!
If you really want your photos to look amazing and take them to the next level, learning the squinch is a must!
The squinch was made famous by a former model turned world-class headshot photographer, Peter Hurley. I’m certainly not a model, but I’m going to show you three photos of myself to see how drastically we change our look and confidence in photos.
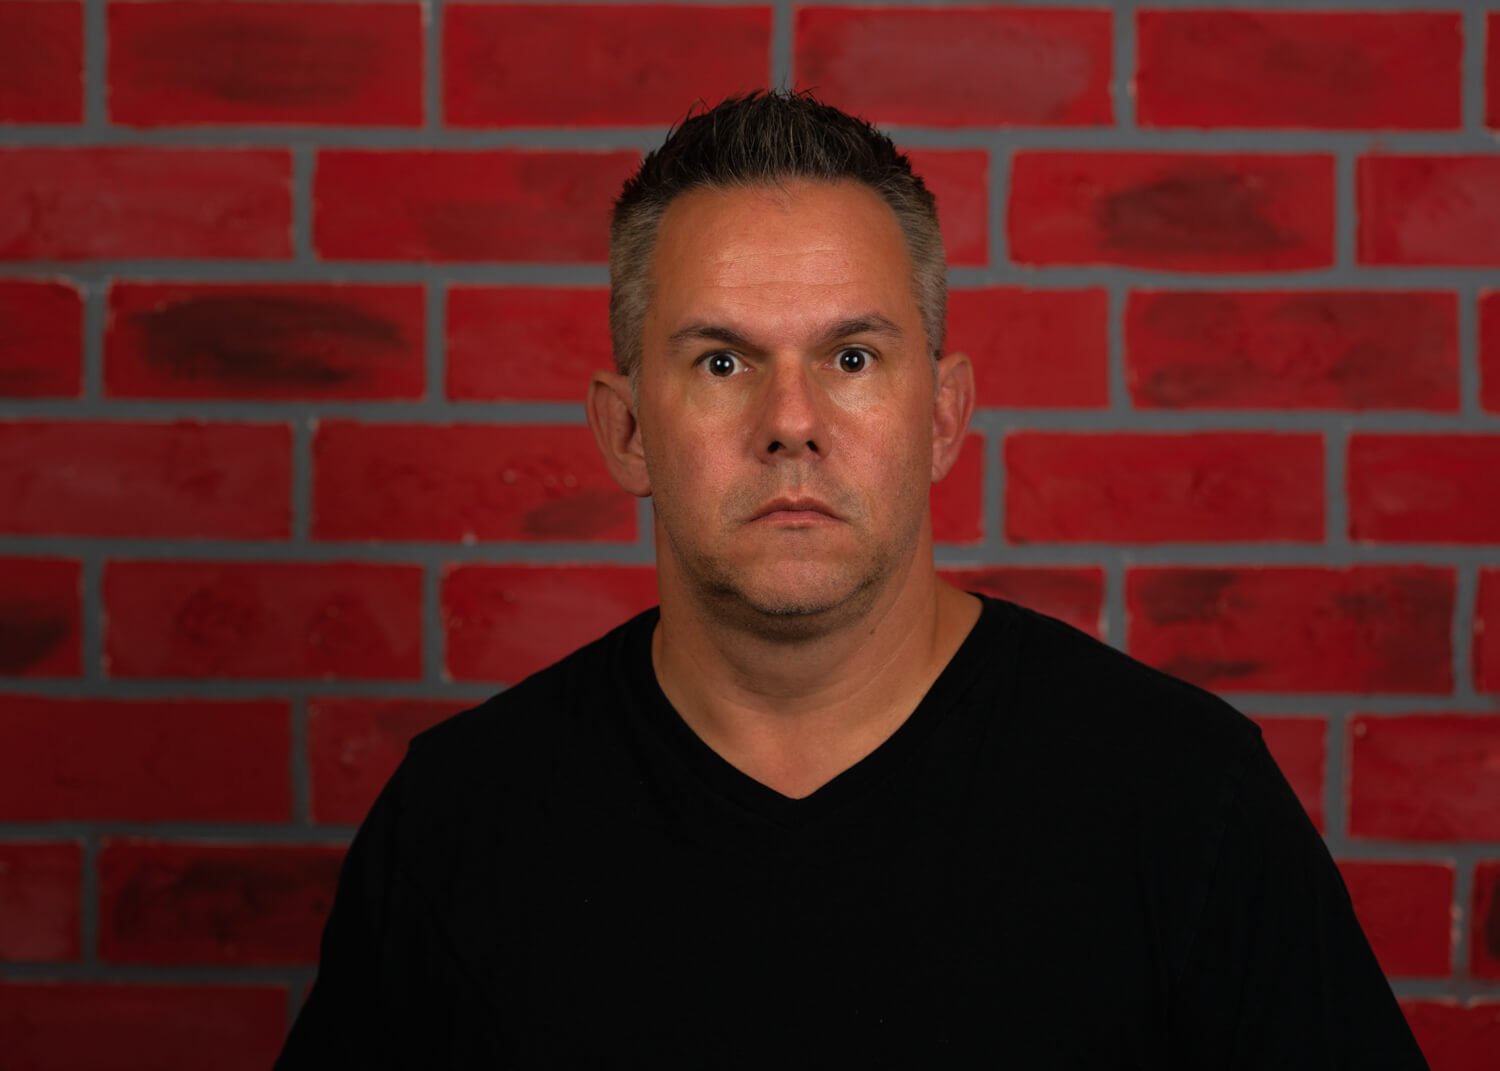

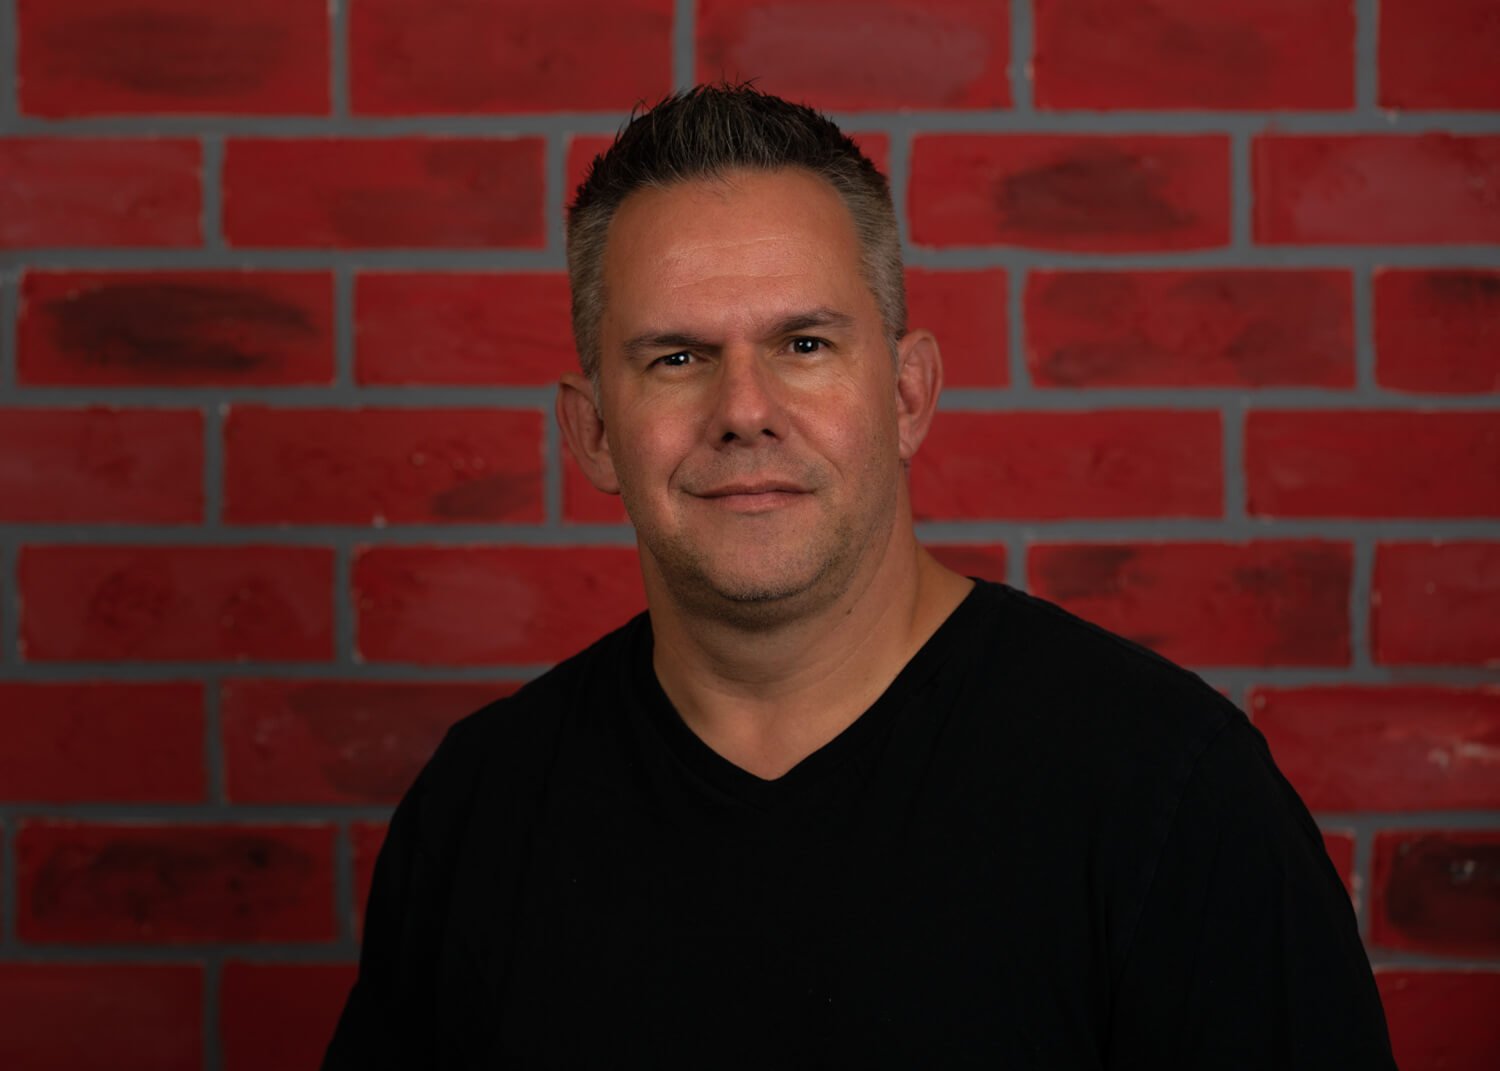
Let’s begin by looking at the first photo on the left. The classic “deer in headlights” look. Nothing about this photo makes me look comfortable or confident being in front of the camera. I look scared to death.
Let’s move to the second photo in the middle. Simply by adding a little smile to my face, my eyes have softened and we at least have an acceptable image. While I look more comfortable in the photo, it still lacks that confidence we’re looking for.
Now let’s look at the third photo on the right. Aha!!! Now we got it - the squinch!! It’s critical to understand the squinch is not a squint! By Peter’s definition, squinching is narrowing the distance between your lower eyelid and your pupil. As you can see from my photo, I’ve narrowed that distance, but my eyes remain open. If I had squinted in this photo, we would barely be able to see my eyes.
The squinch takes a little practice. Spend 5-10 minutes in the mirror perfecting it and it will change your photos forever! You can do exactly what I did. Take three photos of yourself - the deer in headlights, then add a smile, then add in the squinch. See for yourself the difference it makes!